Understanding Oxidation Spray Ink Basics
Chemical Composition and Oxidation Process
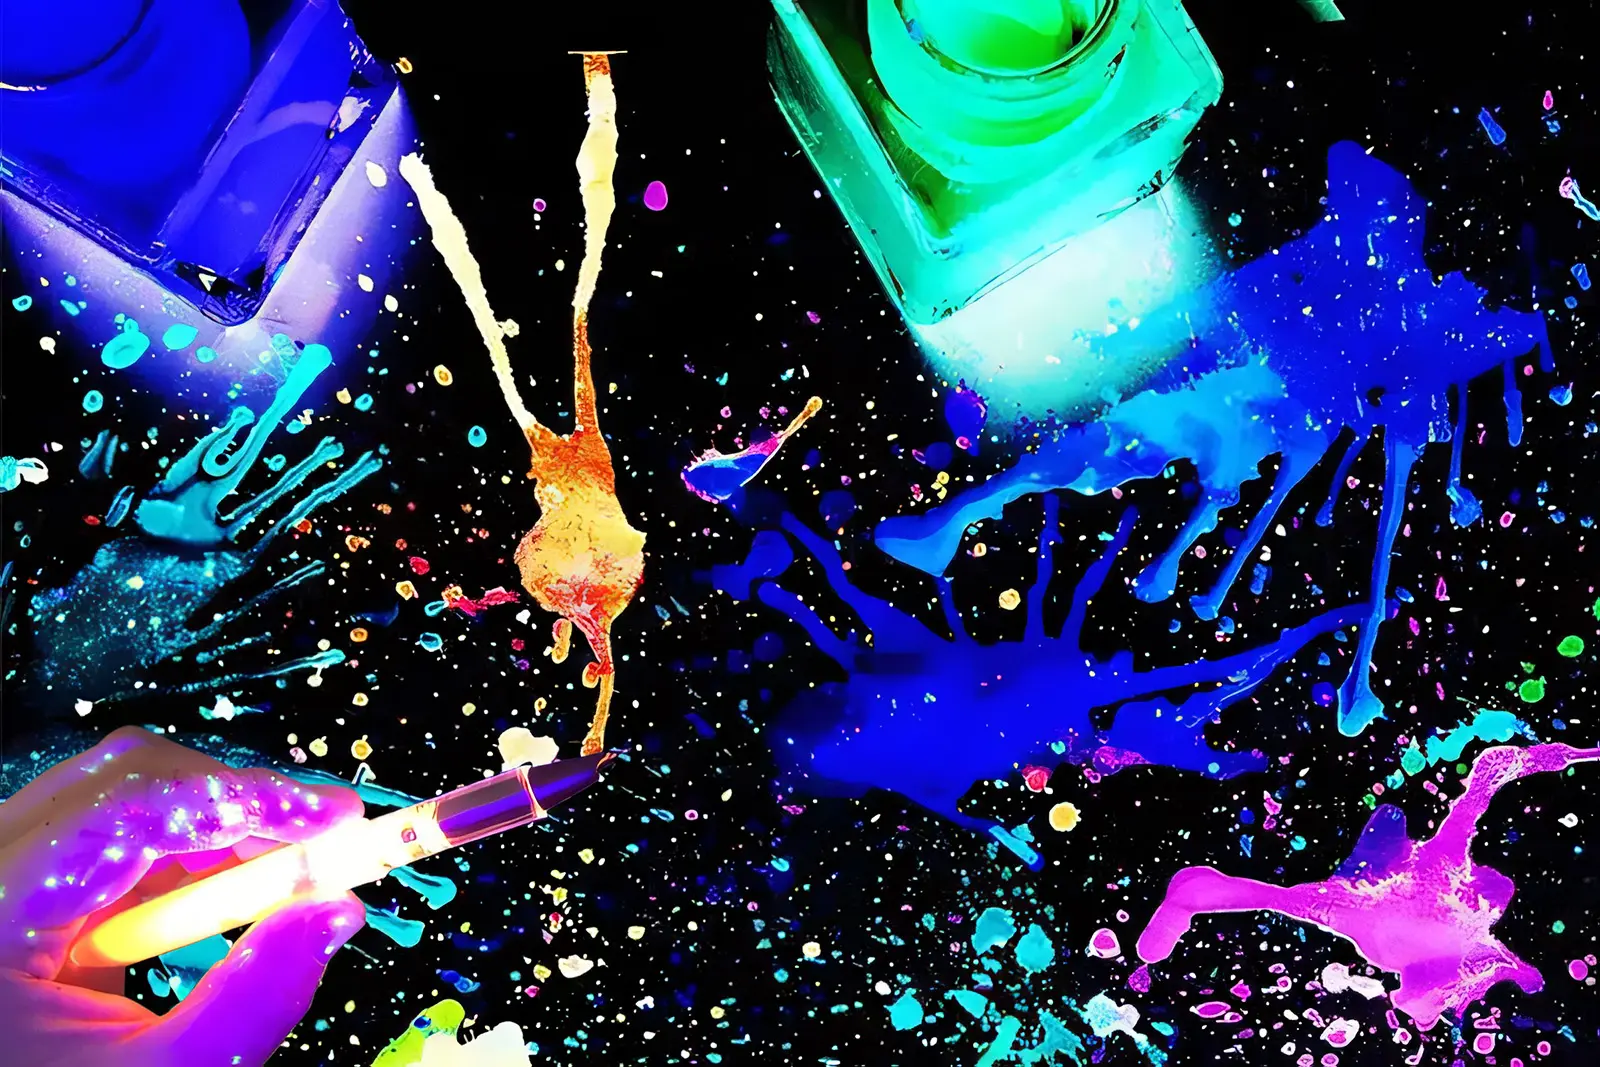
What makes oxidation spray ink stand out is how it mixes together different stuff like pigments for color, solvents that help it apply smoothly, plus some special additives such as acrylic polymers which are really important for what happens during oxidation. When these inks come into contact with oxygen, something interesting occurs the colors get much stronger and stick better to surfaces. According to research from folks who make art supplies, works created with oxidation spray ink tend to last longer and hold up better over time compared to regular inks. That's why many artists choose this particular type when working on projects that need both vibrant colors and lasting quality across various mediums and techniques.
Comparing Oxidation Spray to Fountain Pen Inks
Looking at oxidation spray ink versus regular fountain pen inks reveals quite a few key distinctions worth noting. The spray version is generally much thicker stuff, around 3-4 times denser than standard fountain pen inks, which means it covers surfaces better and dries pretty quickly too. Fountain pens work their magic with liquid dyes that flow smoothly across paper, while oxidation sprays rely on tiny pigment particles suspended in solution. These pigments create a really interesting textured look when applied, almost like paint but with that ink quality. Artists love this because they can cover big areas fast and build up layers in ways that just aren't possible with fountain pens alone. Many professional illustrators swear by oxidation sprays for creating those dramatic effects seen in comic book backgrounds or special weathering techniques on miniature models, where multiple thin layers produce depth and dimensionality that plain old fountain ink simply cannot match.
Benefits Over Traditional Watercolor Paints
Oxidation spray ink brings several advantages compared to regular watercolor paints, especially when it comes to vibrant colors and how easy they are to work with. Watercolors need so many steps just to get started, plus they tend to fade over time. Spray inks give artists bold colors that stand up against water and won't wash away under normal lighting conditions. What's really cool about these inks is the different textures and finishes they create. Some artists love using them to mimic the look of old wood or metal surfaces that have been weathered by nature something regular watercolors just cant pull off. Most artists I know who have tried both methods end up reaching for spray inks again and again because they save time and let creators play around with textures and looks that simply aren't possible with traditional watercolor techniques. The result? Artwork with much more depth and personality than what standard watercolors typically produce.
Essential Techniques for Oxidation Effects
Surface Preparation for Optimal Adhesion
Getting the surface right matters a lot when working with oxidation spray inks. Before applying anything, clean surfaces well to get rid of dust, grease spots, and whatever else sticks around from previous projects. Different materials behave differently too. Wood tends to soak up ink like a sponge unless primed first. Canvas works better with some kind of base coat while paper often needs gesso applied to control how much ink gets absorbed. Artists working with these materials usually find they need to test things out on smaller areas first. Try a corner or edge where nobody will notice if something goes wrong. This helps figure out what actually works best for each particular material being used. Most experienced creators know this upfront investment pays off later when their finished pieces display those beautiful oxidation effects without unexpected surprises.
Layering with Watercolor Techniques
Incorporating watercolor techniques when working with oxidation spray ink can create stunning visual effects that add depth and complexity to artwork. Methods like wet-on-wet or wet-on-dry are excellent starting points, offering different outcomes that can be tailored to artistic preferences. Here's a basic step-by-step guide:
- Begin with a clean, primed surface.
- Apply a light, even spray of oxidation ink as a base.
- Once dry, apply a watercolor layer using a wet-on-wet technique to allow colors to blend seamlessly.
- Use a smaller spray nozzle for more intricate designs, layering with varied intensities.
- Repeat as desired to build depth and texture.
Artists like Carla O'Connor have successfully used these mixed techniques, resulting in rich and emotive pieces.
Creating Rust-Like Textures on Different Materials
To get those rusty textures right, artists need to play around with oxidation sprays mixed with all sorts of different stuff. When they apply oxidation ink on top of acrylics or metallic paints, it starts looking like old metal that's been sitting outside for years. Some folks even throw in a little salt or vinegar during the process which makes everything look more real, almost like it was actually exposed to the elements. The surfaces matter too - try this on metal versus wood and see what happens! Each material interacts differently with the ink, sometimes creating unexpected effects. Experimenting with colors and how thickly the ink is applied lets artists control just how weathered something looks. A few extra layers here and there can make all the difference between something that just looks old and something that feels genuinely aged from decades of exposure.
Combining with Acrylic Paints for Mixed Media
Mixing oxidation spray inks with acrylic paints gives artists some really cool options for mixed media creations. The way these materials interact lets creators play around with bold color contrasts and interesting textures in their artwork. One trick many artists use is applying an acrylic base coat first and letting it dry completely before adding those metallic oxidation sprays. What happens next is pretty amazing because both mediums bring something different to the table. Some standout artworks show just how intense and colorful this combo can get. Look at what certain contemporary artists have done with this approach - their mixed media pieces really stand out from traditional methods.
Creative DIY Projects Using Oxidation Ink
Antique-Style Journal Covers
Making old-timey looking journal covers with oxidation spray ink has become quite the popular craft lately. For those wanting to give it a try, start collecting basic stuff first plain covered journals work best, along with some oxidation spray ink, stencils, and maybe some fancy bits like lace or metal trinkets. Apply the spray through stencils to get cool designs going on, and don't be afraid to mix in various colors for that extra dimension. Once everything looks good, finish off with something like vintage lace to really bring out that worn down, antique vibe. Crafters all over have been raving about these projects, especially how satisfying it feels when combining today's tools with yesterday's styles creates something truly unique.
Weathered Wood Decorations
Oxidation spray ink applied to wood creates those weathered effects that many homeowners love for their spaces. When working on this technique, folks often start with simple wooden objects like picture frames or storage boxes. Before applying any ink, make sure the wood is clean and free from dust. There are several application methods available - some people mist the ink lightly for a softer effect, while others go for heavier brushing to create deeper textures. What makes this method special is how it produces those authentic aged looks with multiple color layers developing over time. Decorators tend to gravitate toward either muted tones that blend naturally into existing furniture or striking color contrasts that make a statement. The craft community has really caught on to oxidation techniques lately, with DIY enthusiasts finding all sorts of creative ways to bring that rustic charm into modern homes through transformed wooden pieces.
Vintage Fabric Dyeing Methods
Oxidation spray ink brings something special to vintage fabric dyeing, giving fabrics those deep textures and bold colors that really stand out. Works best on natural stuff like cotton or linen because they soak up the ink so nicely. Before starting, make sure the fabric is totally clean and completely dry first. Maybe do a little test spot somewhere hidden just to see how the color holds up over time. Always wear gloves when handling this stuff and definitely find a space with good airflow since the fumes can be pretty strong. Applying the ink? Try different tools for different effects brush strokes give one look while sponging creates another texture altogether. What makes these methods so cool is watching ordinary cloth turn into something eye catching. People have made everything from custom t-shirts to decorative pillow covers using oxidation dye techniques. The results are always unique no two pieces ever look exactly alike which is part of what makes this process so appealing to crafters everywhere.
Maintenance and Safety Best Practices
Preventing Nozzle Clogs and Ink Drying
Keeping oxidation spray inks running smoothly requires some basic maintenance to avoid those annoying nozzle clogs. After each use, I make sure to clean the nozzle thoroughly. This simple step keeps the spray pattern consistent and prevents unexpected problems when applying the ink. Storing the cans upright is another trick I learned early on. The upright position stops leaks and keeps the ink from drying out inside the canister. Don't forget to tighten those container caps properly either. A good seal extends how long the ink stays usable while keeping it effective for what it's meant to do. Most professionals recommend these practices because they really work. When done right, the ink performs better over time instead of degrading prematurely.
Proper Ventilation During Spray Projects
Working with oxidation spray inks means good ventilation isn't optional, it's absolutely necessary for staying safe. Those fumes? They're seriously bad news. That's why I always head outside or find a spot with plenty of airflow when doing this kind of work. If I have to do something inside, mask up first thing. Got a basic respirator sitting on my bench most days. Safety matters because nobody wants to cough their way through a project. Plus, breathing in all those chemicals messes with creativity anyway. Health groups warn that long term exposure to these fumes can wreck lungs over time. So yeah, wearing protective gear isn't just about being careful, it's part of what makes art making sustainable in the long run for anyone who works with sprays regularly.
Sealing and Protecting Finished Oxidation Art
Proper sealing of oxidation art makes all the difference when it comes to how long it lasts and protecting against things like dampness and sunlight damage. There are multiple ways to go about sealing that actually improve both how long the piece will last and how good it looks in the end. Finding a sealant that works well with oxidation spray ink matters a lot for keeping the artwork looking as intended. It's wise to do some test patches before going full ahead with the final layer just to make sure nothing goes wrong with color shifts or other unwanted changes. Taking this careful route protects the artwork while helping maintain those bright colors and distinctive features that make each creation special. Most artists want their work to stick around for years without fading away.