
 EN
EN
Mastering the Raised Line: How to Use 3D Glass Outliners for Flawless Stained-Glass Effects
There is something uniquely mesmerizing about looking through painted glass. When light hits a beautifully contoured piece of glass art, the colors seem to come alive. But if you have ever tried your hand at glass painting, you know the hardest part isn’t filling in the color—it’s holding the line.
Traditional faux stained-glass techniques often require complex mixing, unsteady metal leads, or heat-baking processes that can easily crack delicate glass pieces. That is where a high-quality dimensional relief liner completely changes the game. Whether you are outlining an intricate geometric mandala, customizing a gallery frame, or breathing new life into thrifted glassware, mastering the outliner is your first step to professional-looking results.
Why the Outliner Matters: Anatomy of a Faux Stained-Glass Project
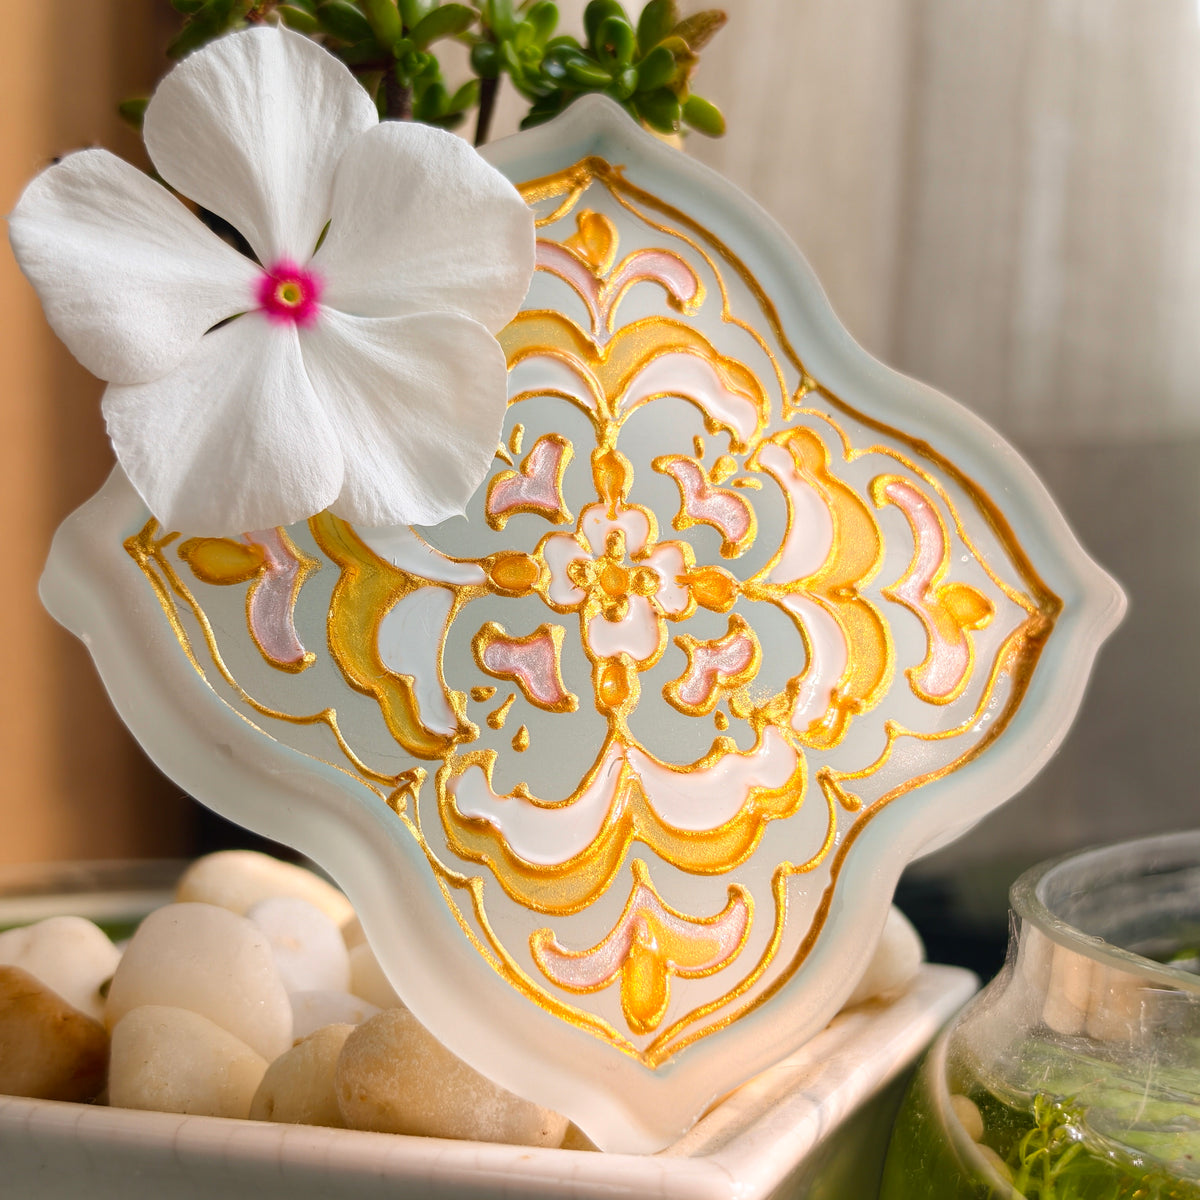
In traditional glass work, lead cames physically hold the panels of colored glass together. In glass painting, your outliner mimics this exact dimension. It acts as a physical dam. Because glass paint is naturally fluid and self-leveling, if your boundary lines are flat, thin, or broken, the wet ink colors will quickly bleed into each other, ruining your hard work.
To achieve clean separation, you need an outline that possesses structural height. The Poezie 3D Dimensional Glass Outliner Paint is engineered specifically for this level of structural integrity. It flows smoothly from the tube but holds its peak, drying into a raised, rubbery, waterproof barrier that keeps your colors exactly where they belong.
Step-by-Step Guide to Flawless 3D Lining
1. Prep Your Substrate (The Non-Negotiable Step)
Glass is non-porous, meaning any microscopic trace of oil from your fingers, dust, or glass cleaner residue will disrupt the paint's bond. Thoroughly wash your glass with warm water and soap, dry it completely, and wipe it down with isopropyl alcohol. From this point on, handle the glass only by its very edges.
2. Anchor Your Pattern Below
One of the greatest advantages of working with clear glass is transparency. Print out your template layout or drawing, place it directly underneath the glass panel, and secure it with painters tape. You can easily trace your design line-for-line without worrying about freehand slip-ups.
3. Lift, Don’t Drag: The Expert Line Technique
The most common rookie mistake is pressing the plastic tip flat against the glass surface and dragging it along like a pen. Doing this pushes the paint down into a flat, ragged smear.
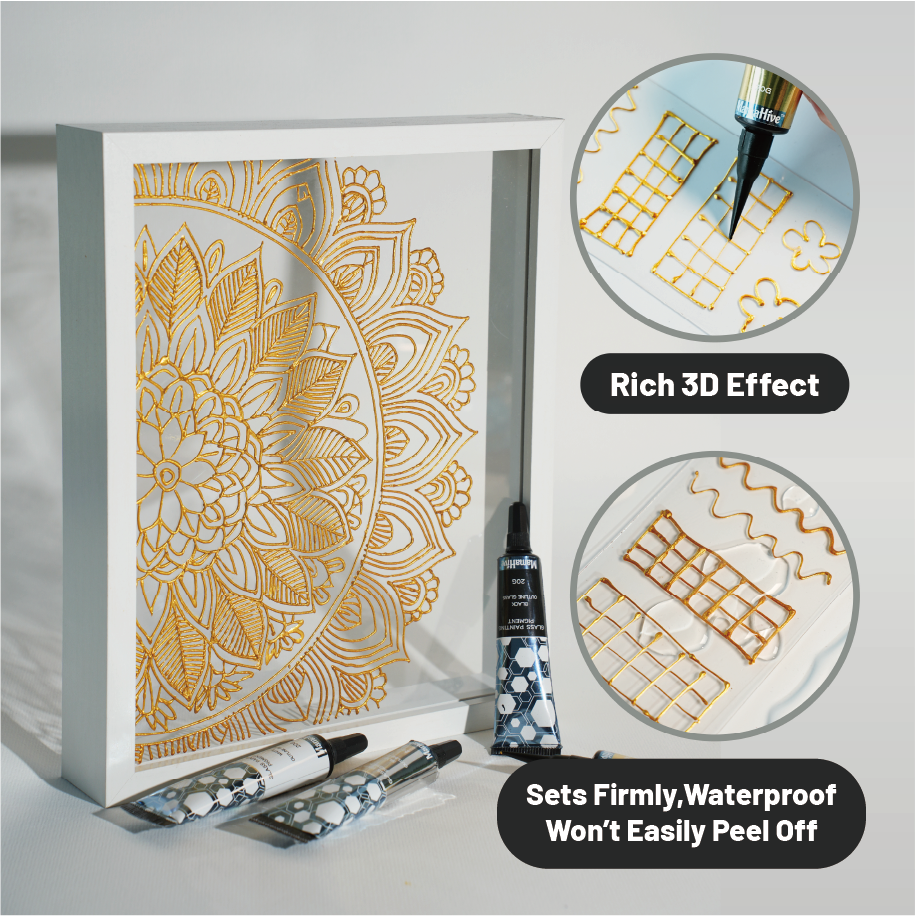
"Touch the 0.6mm nozzle down gently to anchor your starting point, squeeze the tube evenly, and lift the nozzle slightly into the air. Guide the hanging line of paint over your pattern, letting it land smoothly on the surface. Squeeze first, guide second, stop squeezing, and drop the tip down to finish the line."
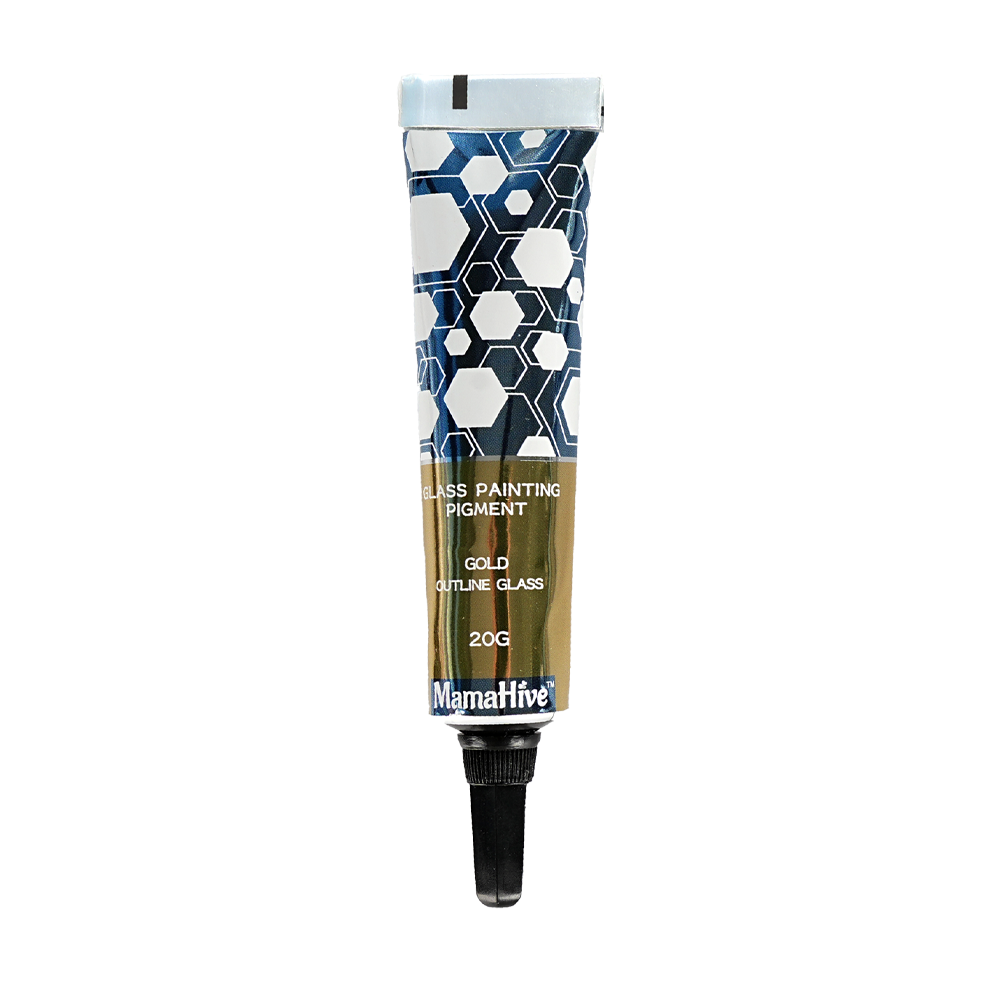
Choosing Your Vibe: Four Classic Color Strategies
The color of your relief line dictates the overall mood of your finished piece. Depending on your design concept, choosing the right Poezie outliner variant can completely elevate your art:
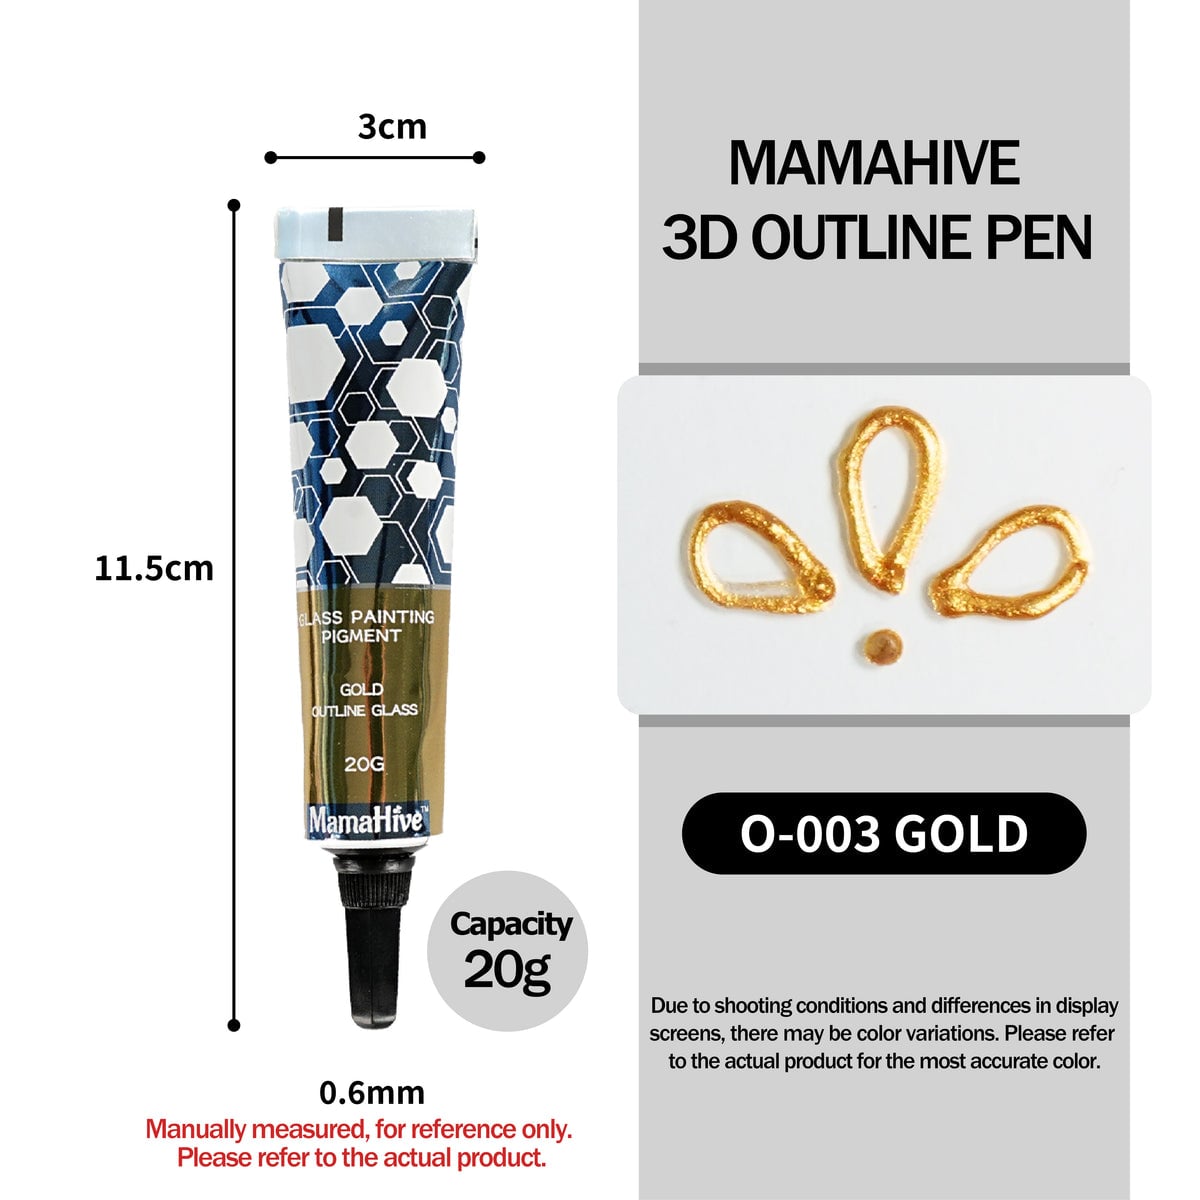
- Metallic Gold: The absolute favorite for intricate Moroccan lattices, traditional mandalas, and glowing holiday accents. It catches ambient light beautifully.
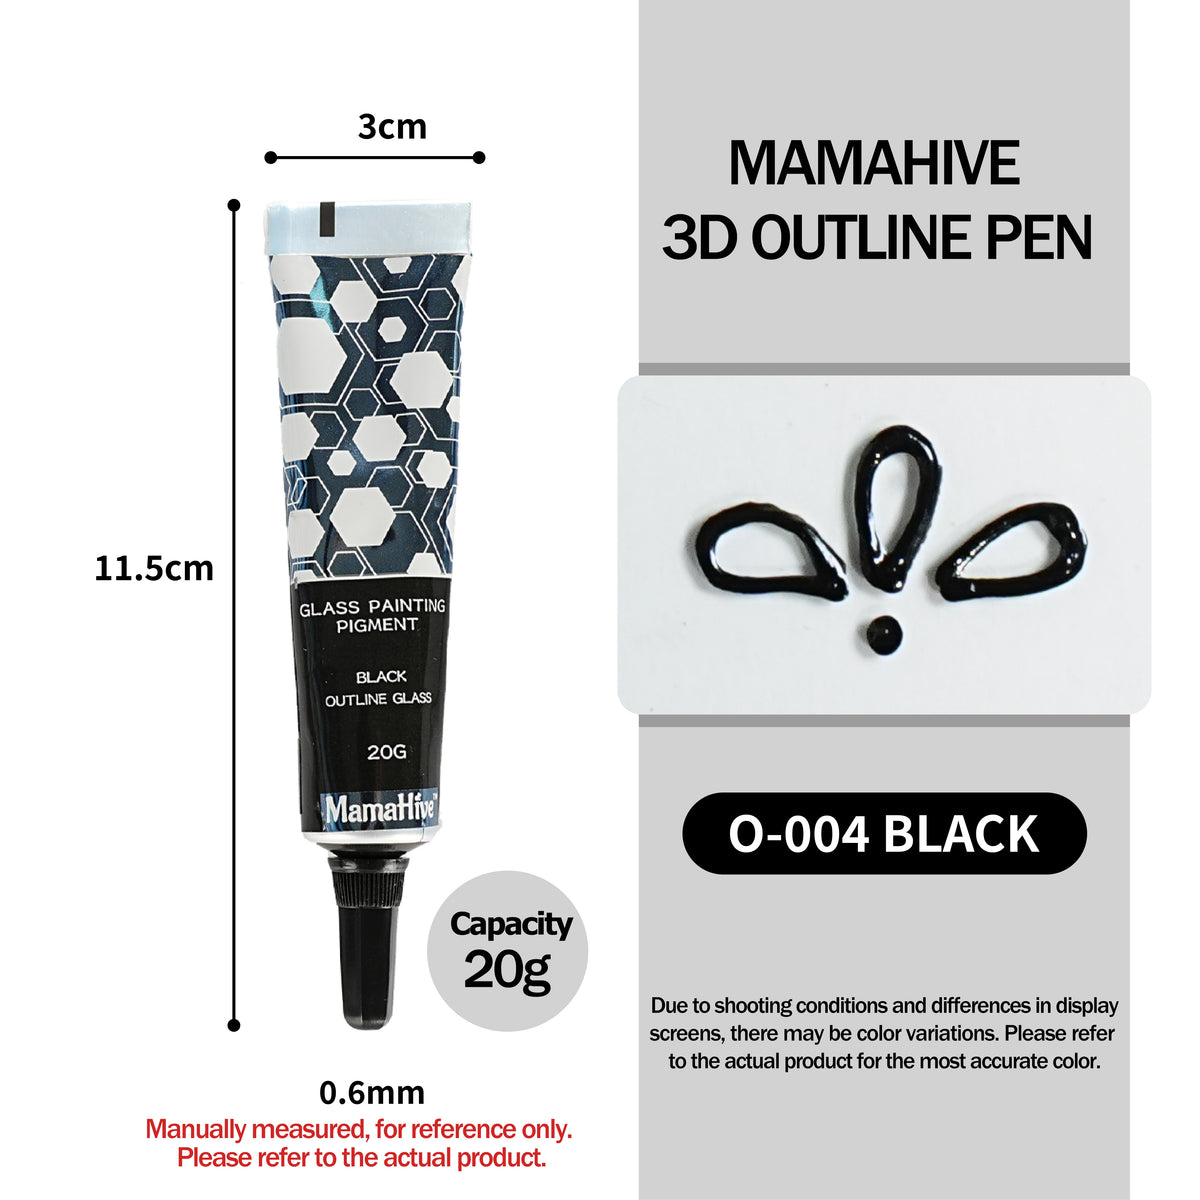
- Deep Contour Black: Perfect for bold, classic faux-stained glass panel work. It creates incredible graphic contrast that makes translucent jewel-toned fillers pop like neon.
- Metallic Silver: Sleek, modern, and industrial. It works perfectly on mirrors or minimal glassware designs for clean, sophisticated textures.
- Pearl White: Soft and ethereal. Perfect for wedding crafts, delicate floral illustrations, frosted glass pieces, and modern home decor.
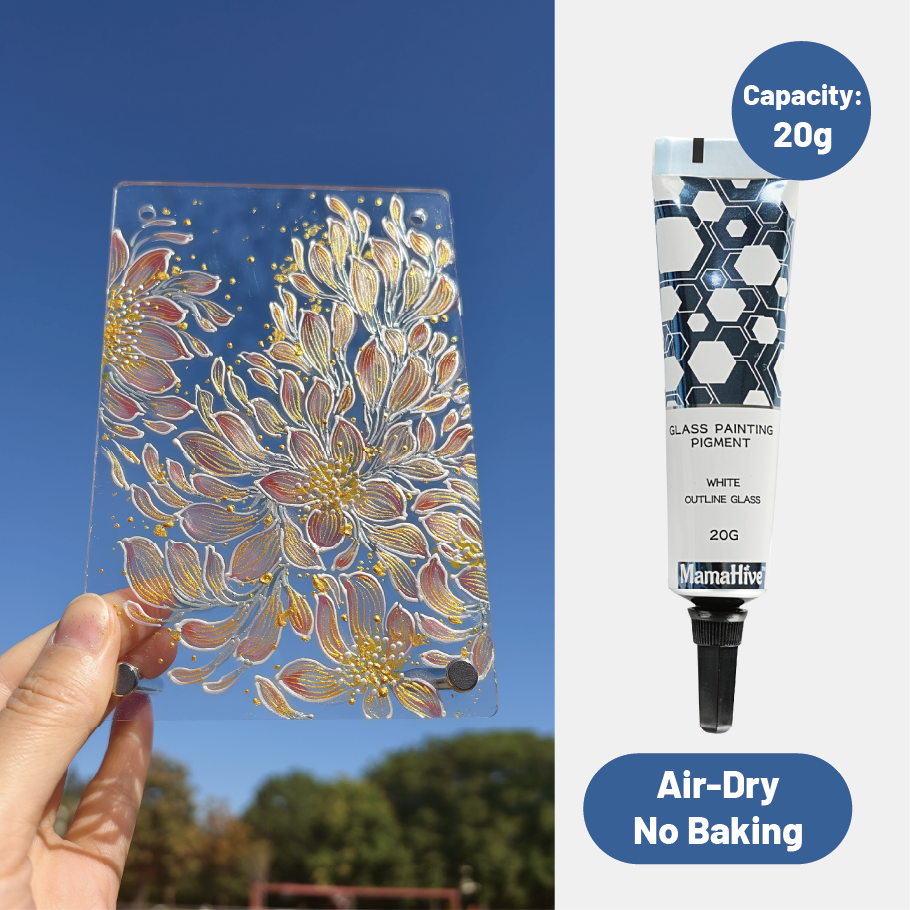
No Oven, No Hassle: Caring for Your Art
Historically, building durable art on glass required firing pieces inside an industrial oven or home kitchen stove—a high-risk technique that often leads to cracked glassware or toxic fumes.
The Poezie 3D formula relies instead on a natural air-cure mechanism. Because it uses a high-performance water-reducible base, the formula remains completely non-toxic and odorless during curing. Once you finish lining, simply leave the piece sitting flat in a dust-free room. It dries to the touch in just a couple of hours, setting into a firm, highly secure, waterproof shell within 24 hours. If you make a mistake while working, don't worry—uncured wet paint cleans up easily with warm water or a damp cloth.
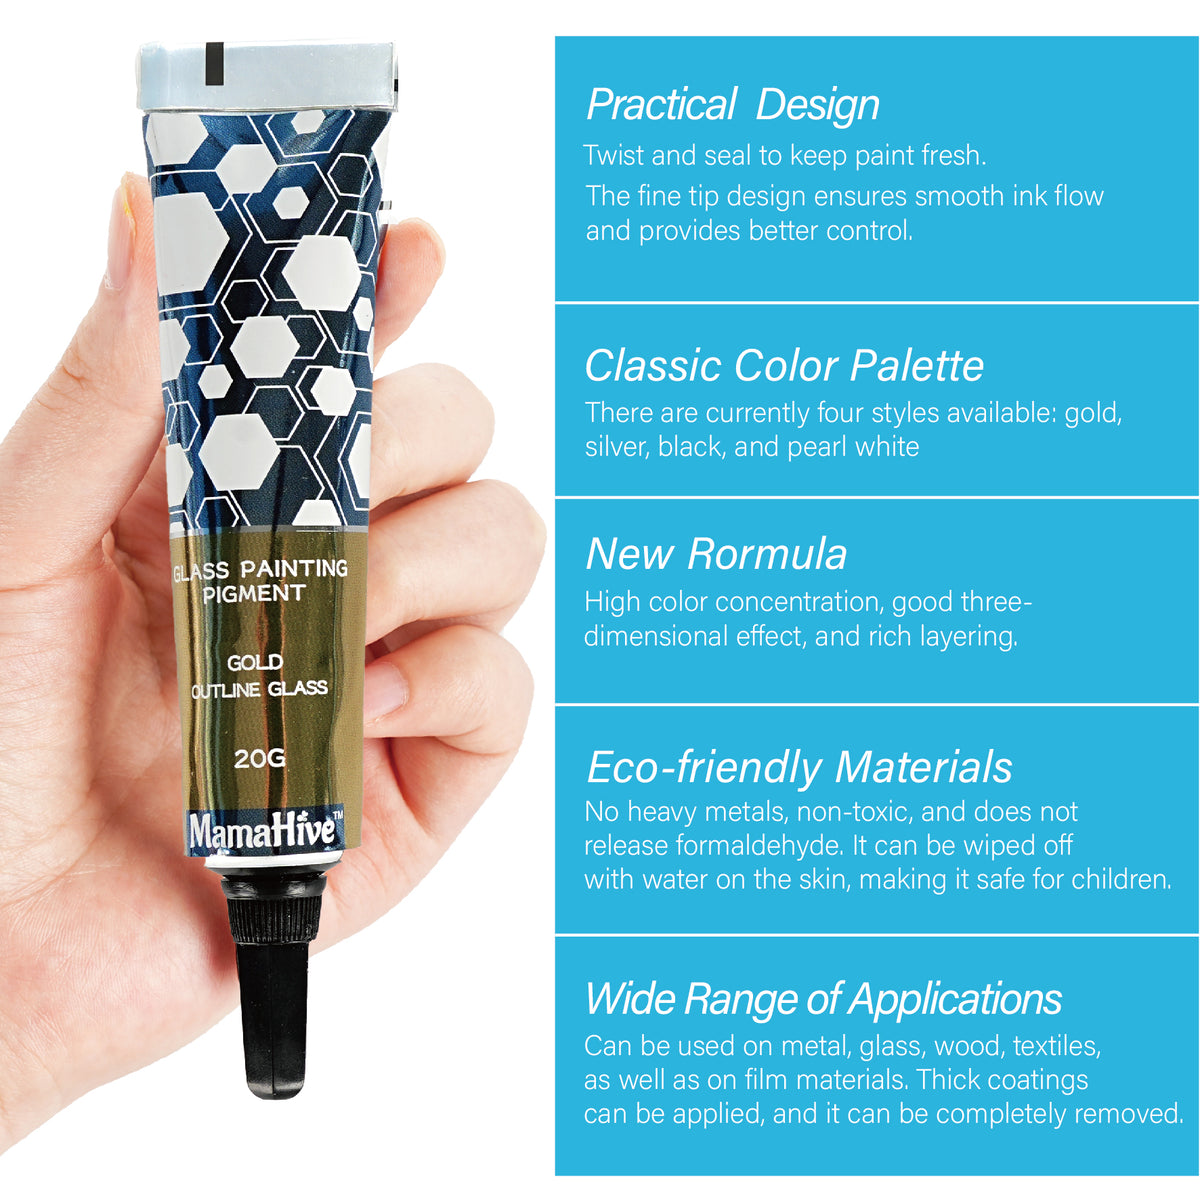
Expanding Your Horizons Beyond Glass
While designed specifically to tackle glass and mirrors, this thick dimensional paint is incredibly versatile. Mixed-media artists use it to build intricate relief borders on glazed ceramics, polished metal sheets, smooth wood blanks, hard canvas panels, and even heavy canvas textiles.
By controlling your line weight and picking the color variant that fits your style, you can transform ordinary household glass panels into stunning custom art pieces. Grab a tube, prep your surfaces, and let your creativity take shape in three dimensions!